Connecting the unconnected:
Before you begin to fix the conduits, pipe saddle, cable boxes and electrical outlets, you first by a pencil locate the spots for each of them per the preliminary drawing of the pipe route which I showed its draft in the article Home Project 1 (Part 1). If you have the pipe route drawing already, you can use it to start work on your home wiring. The spots you can write directly on the surface of walls if you have a plan to repaint afterward.

(2.1) Material List
There are electrical materials you need to wire your home from start to finish, I will share with you the materials that are commonly used and easily ordered.
List of electrical materials used in house wiring:
1. Conduit pipes
2. Couplings/Female bushes
3. Adapters/Male bushes
4. Bends/elbows
5. Waterproof type Junction boxes
6. Light Fixtures
7. Electrical outlets
8. Distributing Cabinet
9. Circuit breakers and Main Power Breaker Panel
10. Cables


It is not recommended to use an electrical drill you have to plugin, as this will bring a lot of inconvenience to the work. Especially if you’re working away from the existing electrical outlets.


A battery-powered drill will be more flexible and convenient if you have access to or borrow such a cordless drill from a friend or your neighbor.
Distributing Cabinet
All your electrical circuits in the house come from the distributing cabinet which is the heart of your electrical house wiring.


Place the distributing cabinet where you wish to install it, the demo is important and it can let you know whether its location and height are appropriate. If you haven’t such a distributing cabinet as this, the same doing can be applied to other installation items.

Try to detach the old electrical wires from the wall and tie it up, this will facilitate the subsequent installation process and not block the pipeways.
(2.2) Scan out hidden pipes and Drill for conduit routes
Next, when you drill holes for the conduit saddles or boxes at the desired location in the wall, please make sure that there are no hidden pipes in the wall behind the marked points. You may check with a multi-function detector which can scan out any ferrous objects and live power cords behind the wall. Since the holes are drilled up typically to a depth of just from 30 to 35mm so you are proposed to buy that one with a max scanning depth of at least 120mm. Keep in mind not to damage those hidden pipes during the process!


Make sure no concealed conduits and live cords in the wall behind your drill marks.
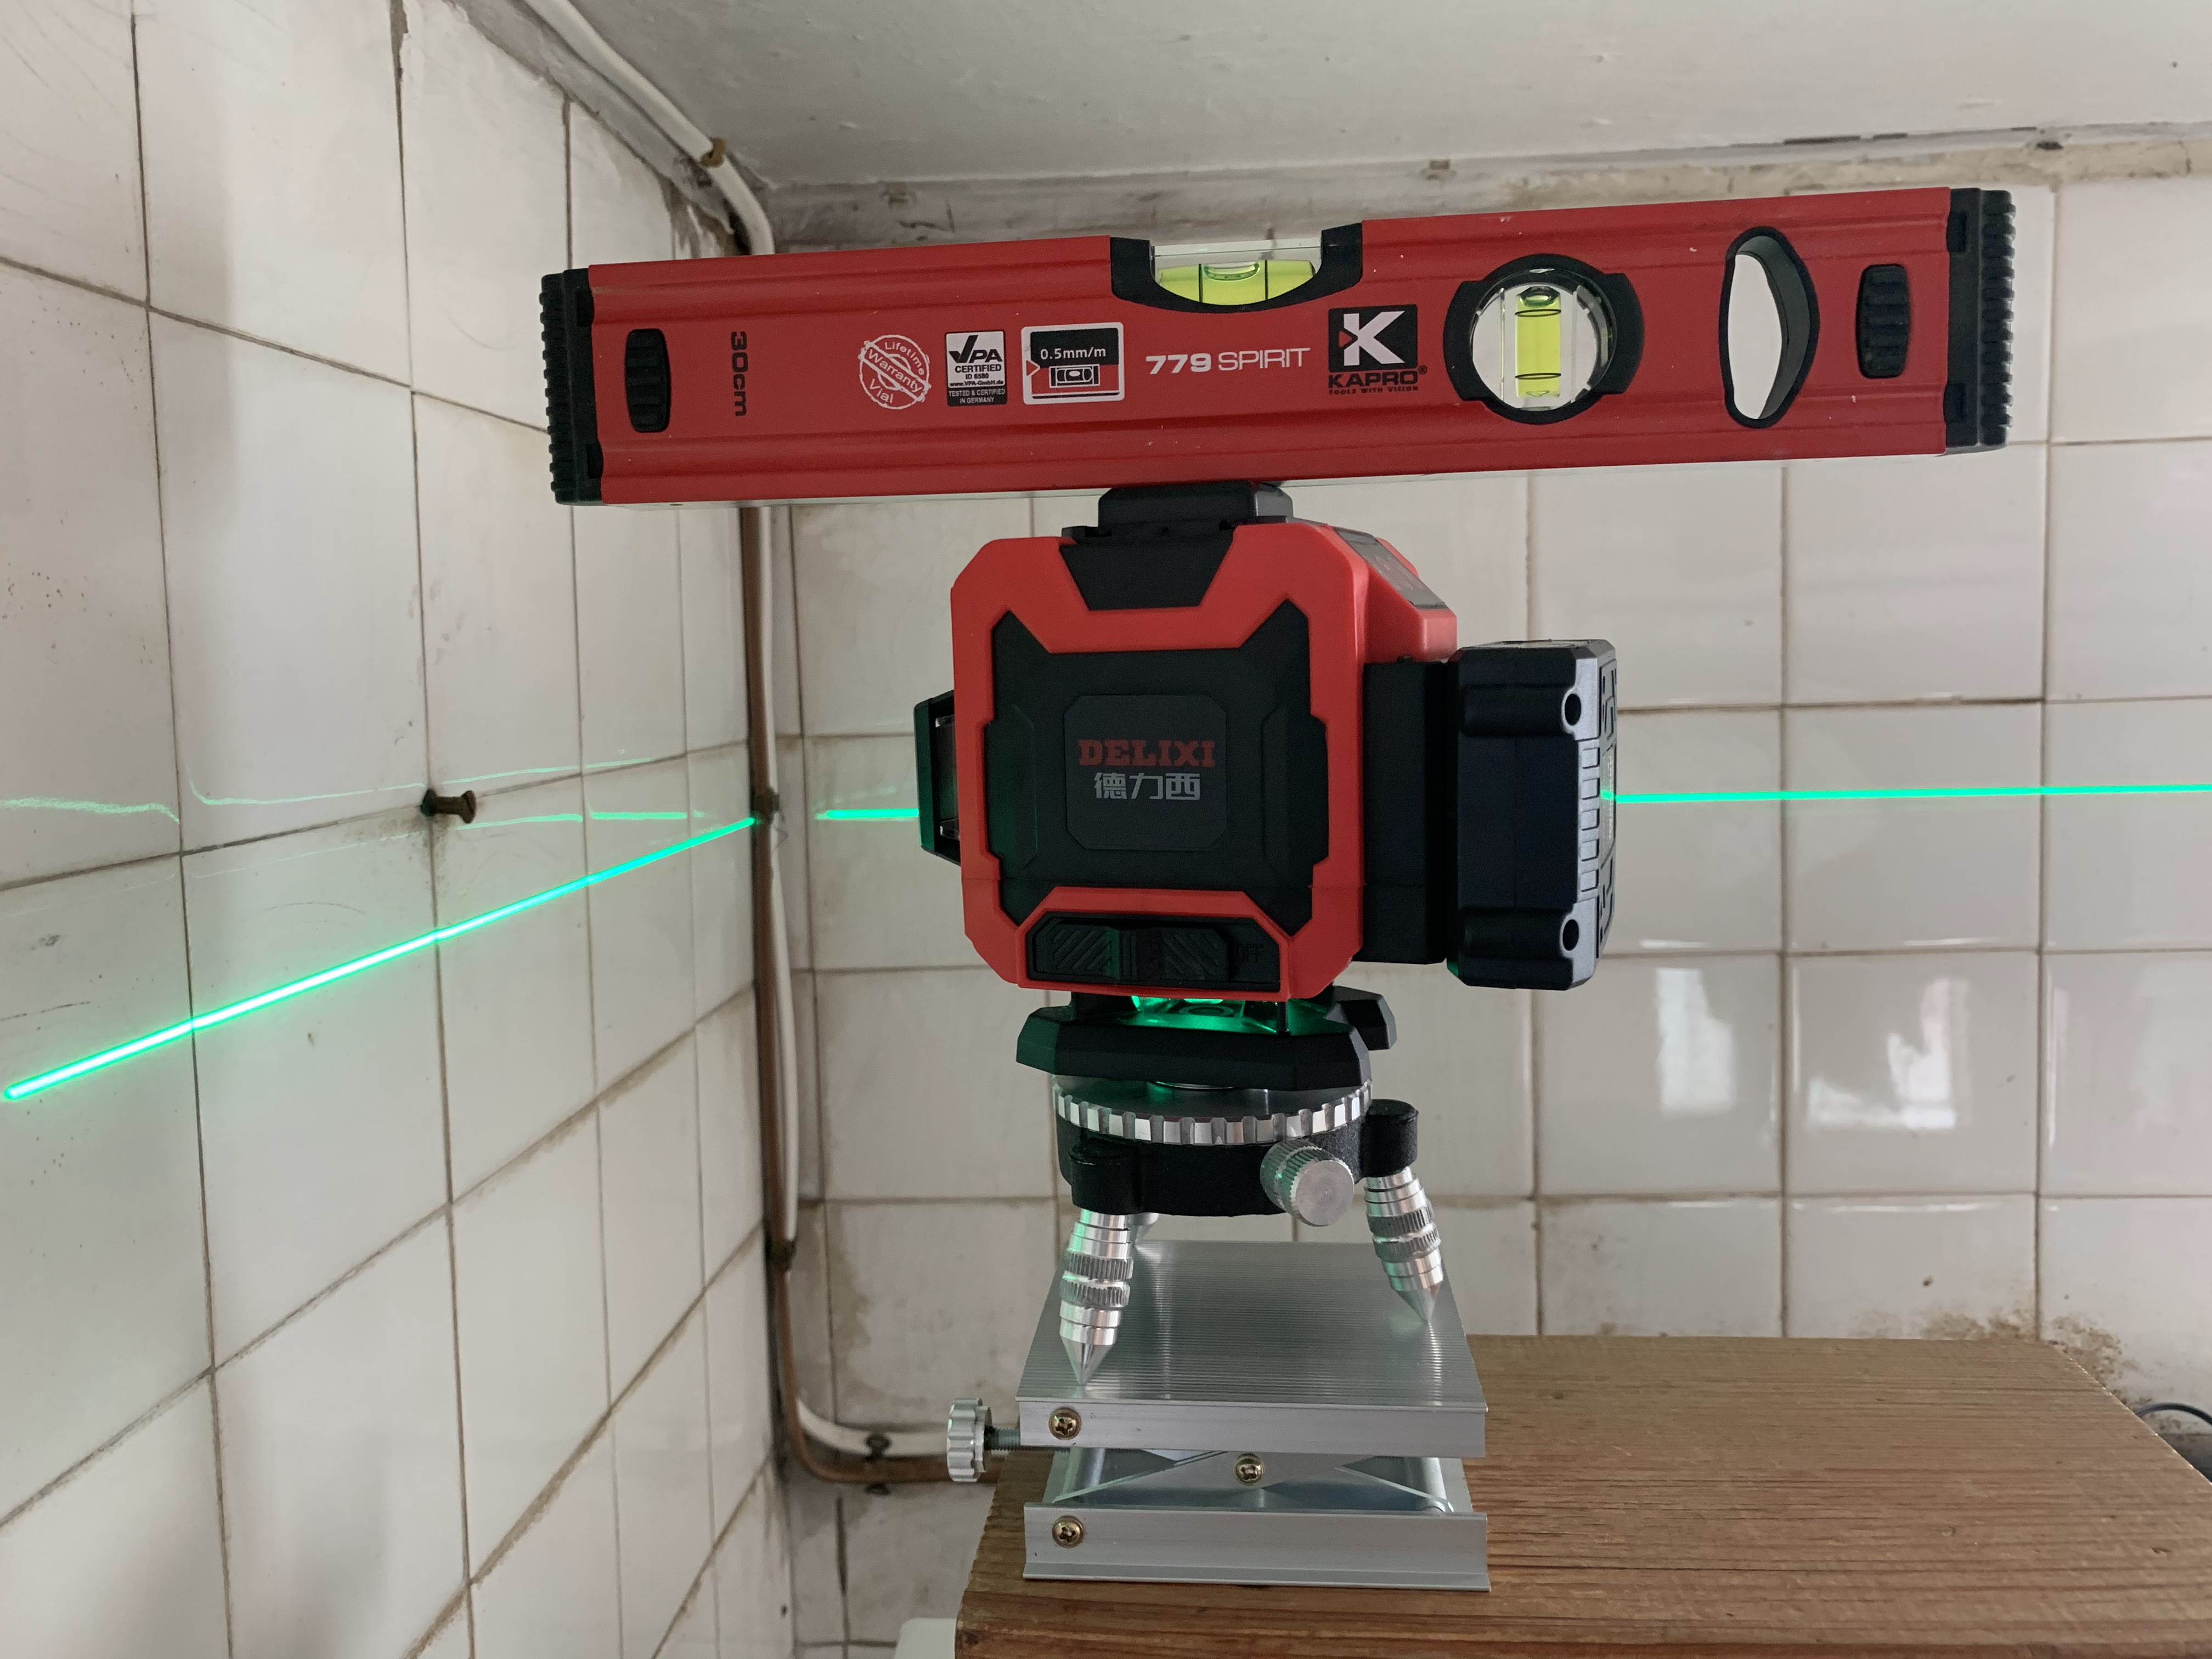
(2.3) Level and Locate V-H cross point accurately by Laser Leveler
In a manner, you’re required to be assisted by a laser leveler that enables you to locate horizontal line, vertical line, and V-H cross-point accurately. It’s a perfect tool for your home project if you have one to assist during the course. Mine was not expensive, it cost me approximately $150 which was ordered from the Taobao platform. You’re not required to spend too much on your tools, even though the materials as long as you know how to choose them from Taobao on which some cheaper goods can achieve your goals and demands, because it depends! The junction boxes, elbow and Tee joints and bushings used for my home project’s surface conduit installation are all (almost all) from this online platform, and the price is not expensive.


(2.4) Prepare a wiring list and cut the cables to length to fit your home project
Label the draw wire with some marks like “A to Z” for each measurement or maybe any of your favorite numberings as “1 to 10”, this can help know what they are and know how to use them during the laying process. You must allow at least 2 feet or more for each measurement of the length from one end to the other, depending on how you work.


Draw wires is an essential hand tool for your home project, the purpose of the tool is simple, to carefully guide wiring through the electrical PVC conduits and cable run.
(2.5) Cut the appropriate length of wire for each group of circuits as per the draw wire markings
Use any rigid circular pipe and useless old cables to help hang the drums, it’s not recommended to use a wooden mop stick although it is easily found around the home; however, its rigidity is low so you have to hold it with one hand to minimize the unwanted vibration therein when the drums rotate.
Additionally, it is best to run your wires along a long and straight corridor that is long enough to allow your laying work to proceed smoothly. Before the commencement thereof you must choose and determine a suitable place so as not to interfere with the laying work, a common corridor outside your home may be a good place so long as you run the wires late at night as no neighbors will be home or out at that time (the proposed time not early at 11:00pm). Indeed, there is and would be no such so-called suitable place to run wires (as this is a home project), if only you could look for a place to do it before you start.


(2.6) Run cables to your distributing cabinet
Now, take your wires which are cut to size and tied, and run them to the distributing cabinet in your home. You’ll want to clearly label each cable to the room or the circuit it’s leading to. To make the subsequent connection of wires easy, make sure to leave 4 to 5 feet of cable extra for them to work with.


Make sure your home project can leave 4 to 5 feet of cable extra after cutting.
(2.7) Work Review
Working Time: 120 hours
Date of completion: 15 November 2023
To be cont'd

No comments:
Post a Comment